How to add a collaborator to a GitHub repository
How to Add a Collaborator on GitHub
Collaborating on a project is one of GitHub’s core features. Adding a collaborator to your repository allows you to share your project with others, enabling them to contribute. Here's a step-by-step guide with screenshots to help you add a collaborator to your GitHub repository.
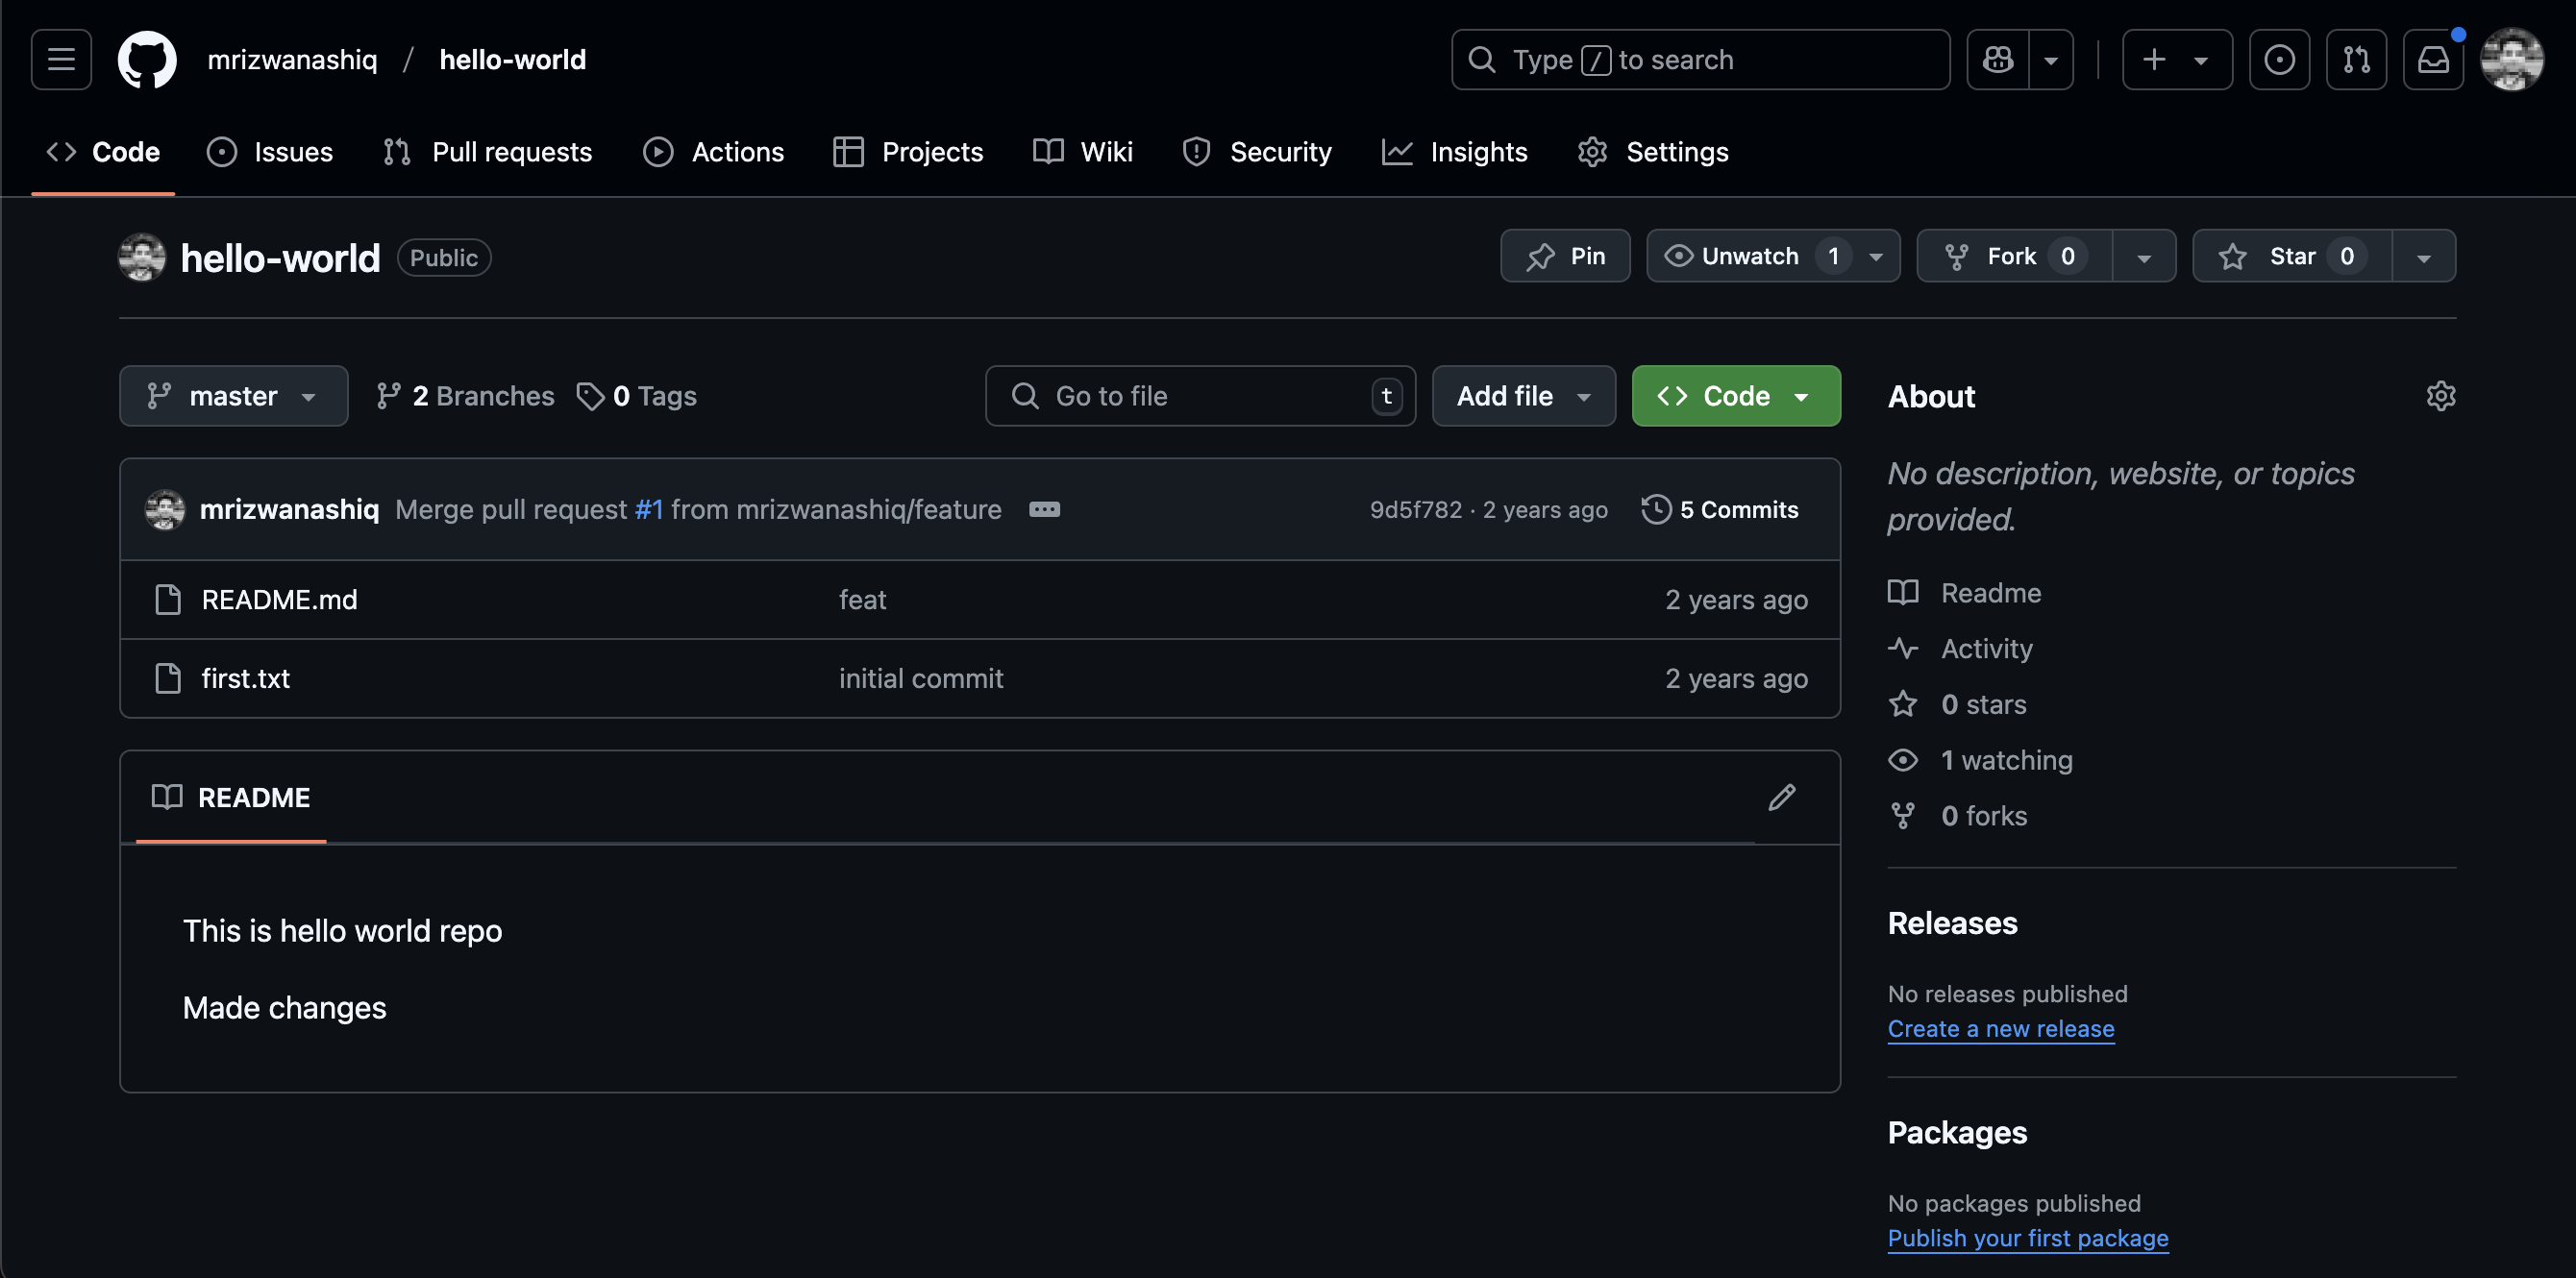
Step 1: Open Your Repository
- Log in to your GitHub account.
- Navigate to the repository where you want to add a collaborator.
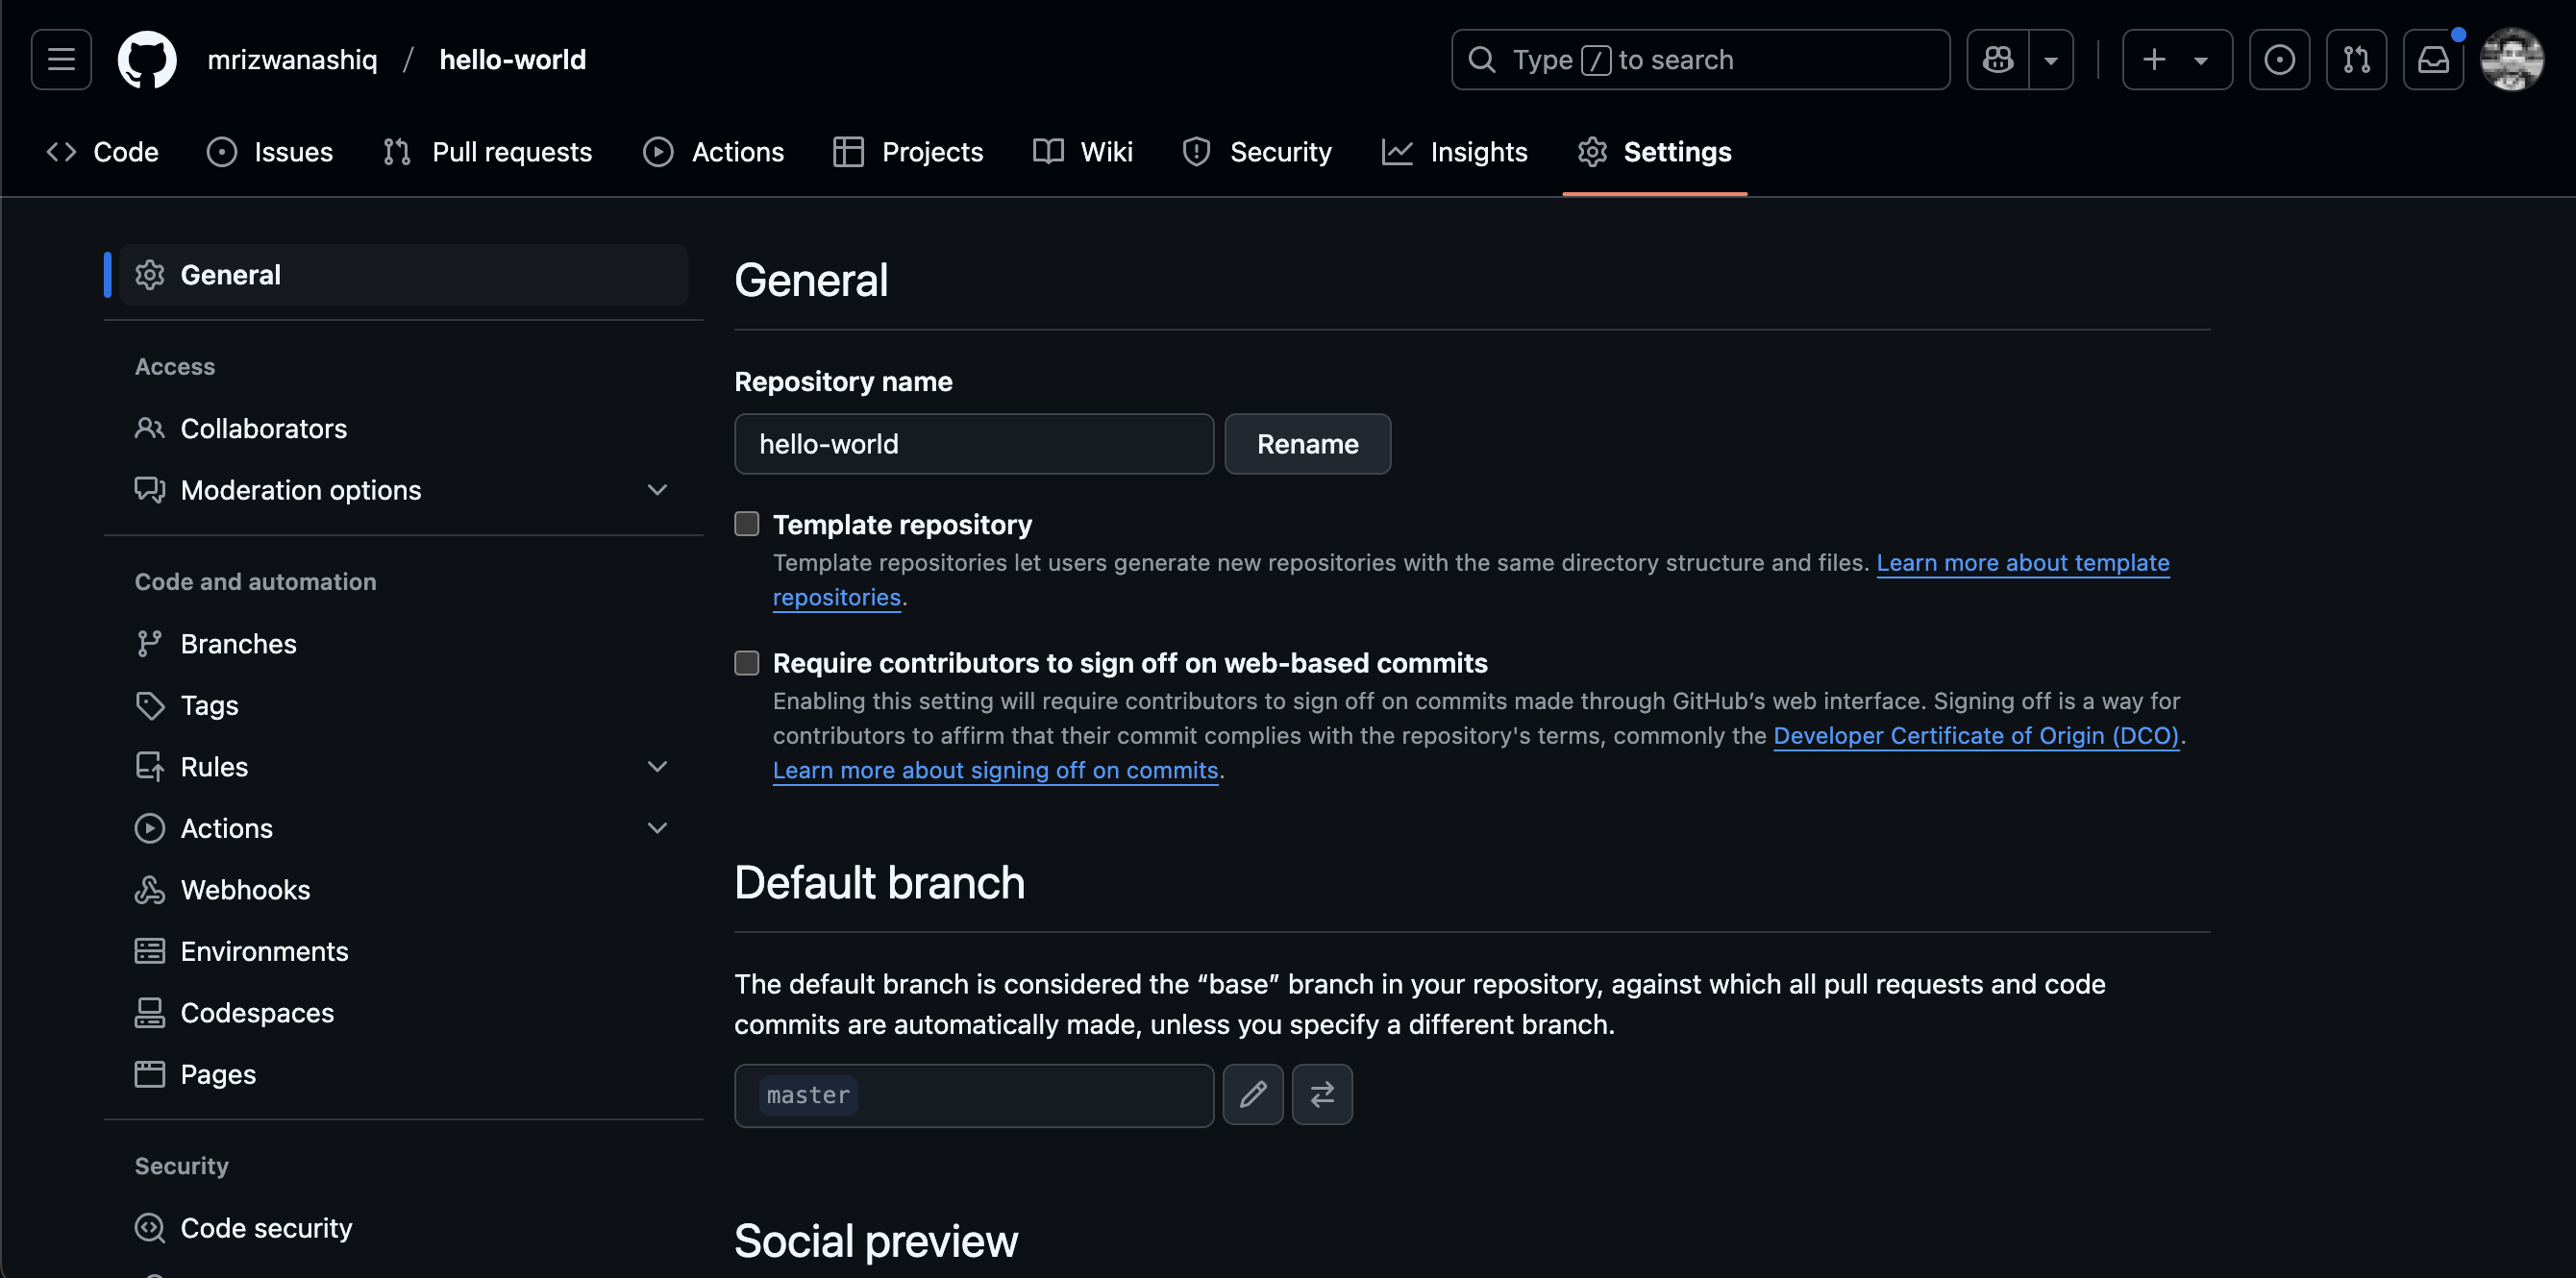
Step 2: Go to the Repository Settings
- Click on the Settings tab located at the top of your repository page.
Step 3: Access the Collaborators Section
- In the Settings sidebar, click on Collaborators and teams under the “Access” section.
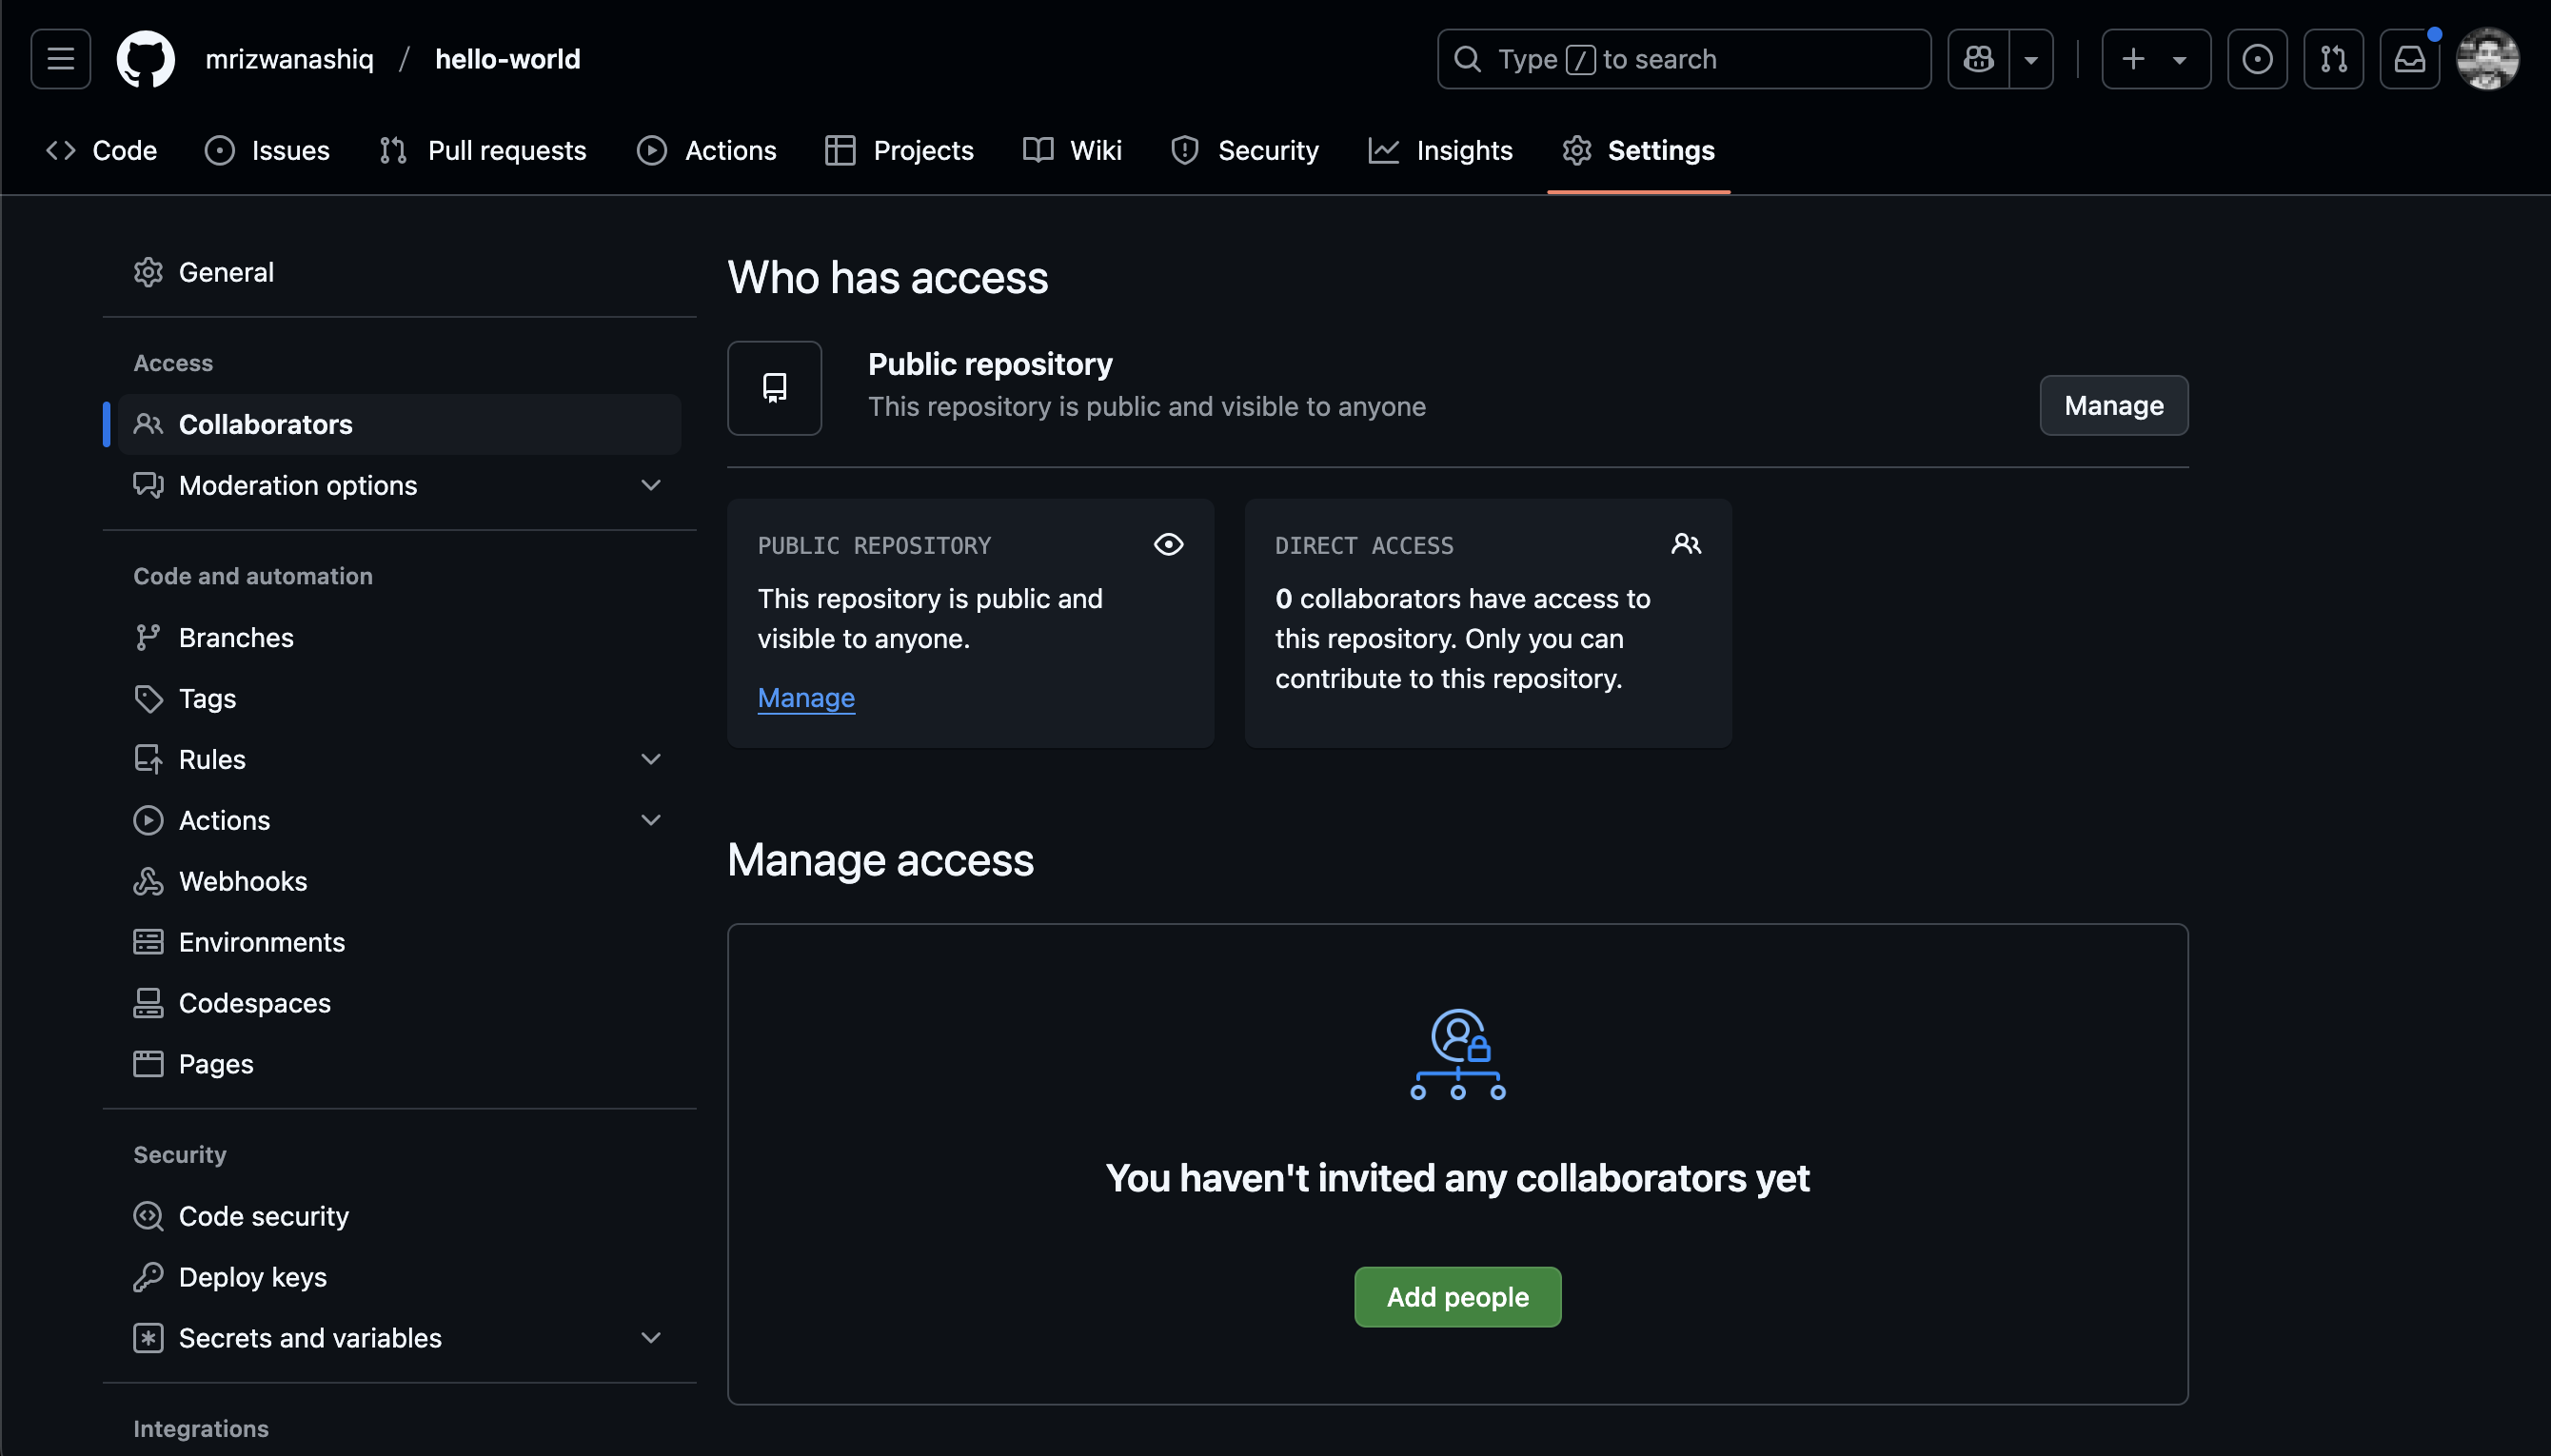
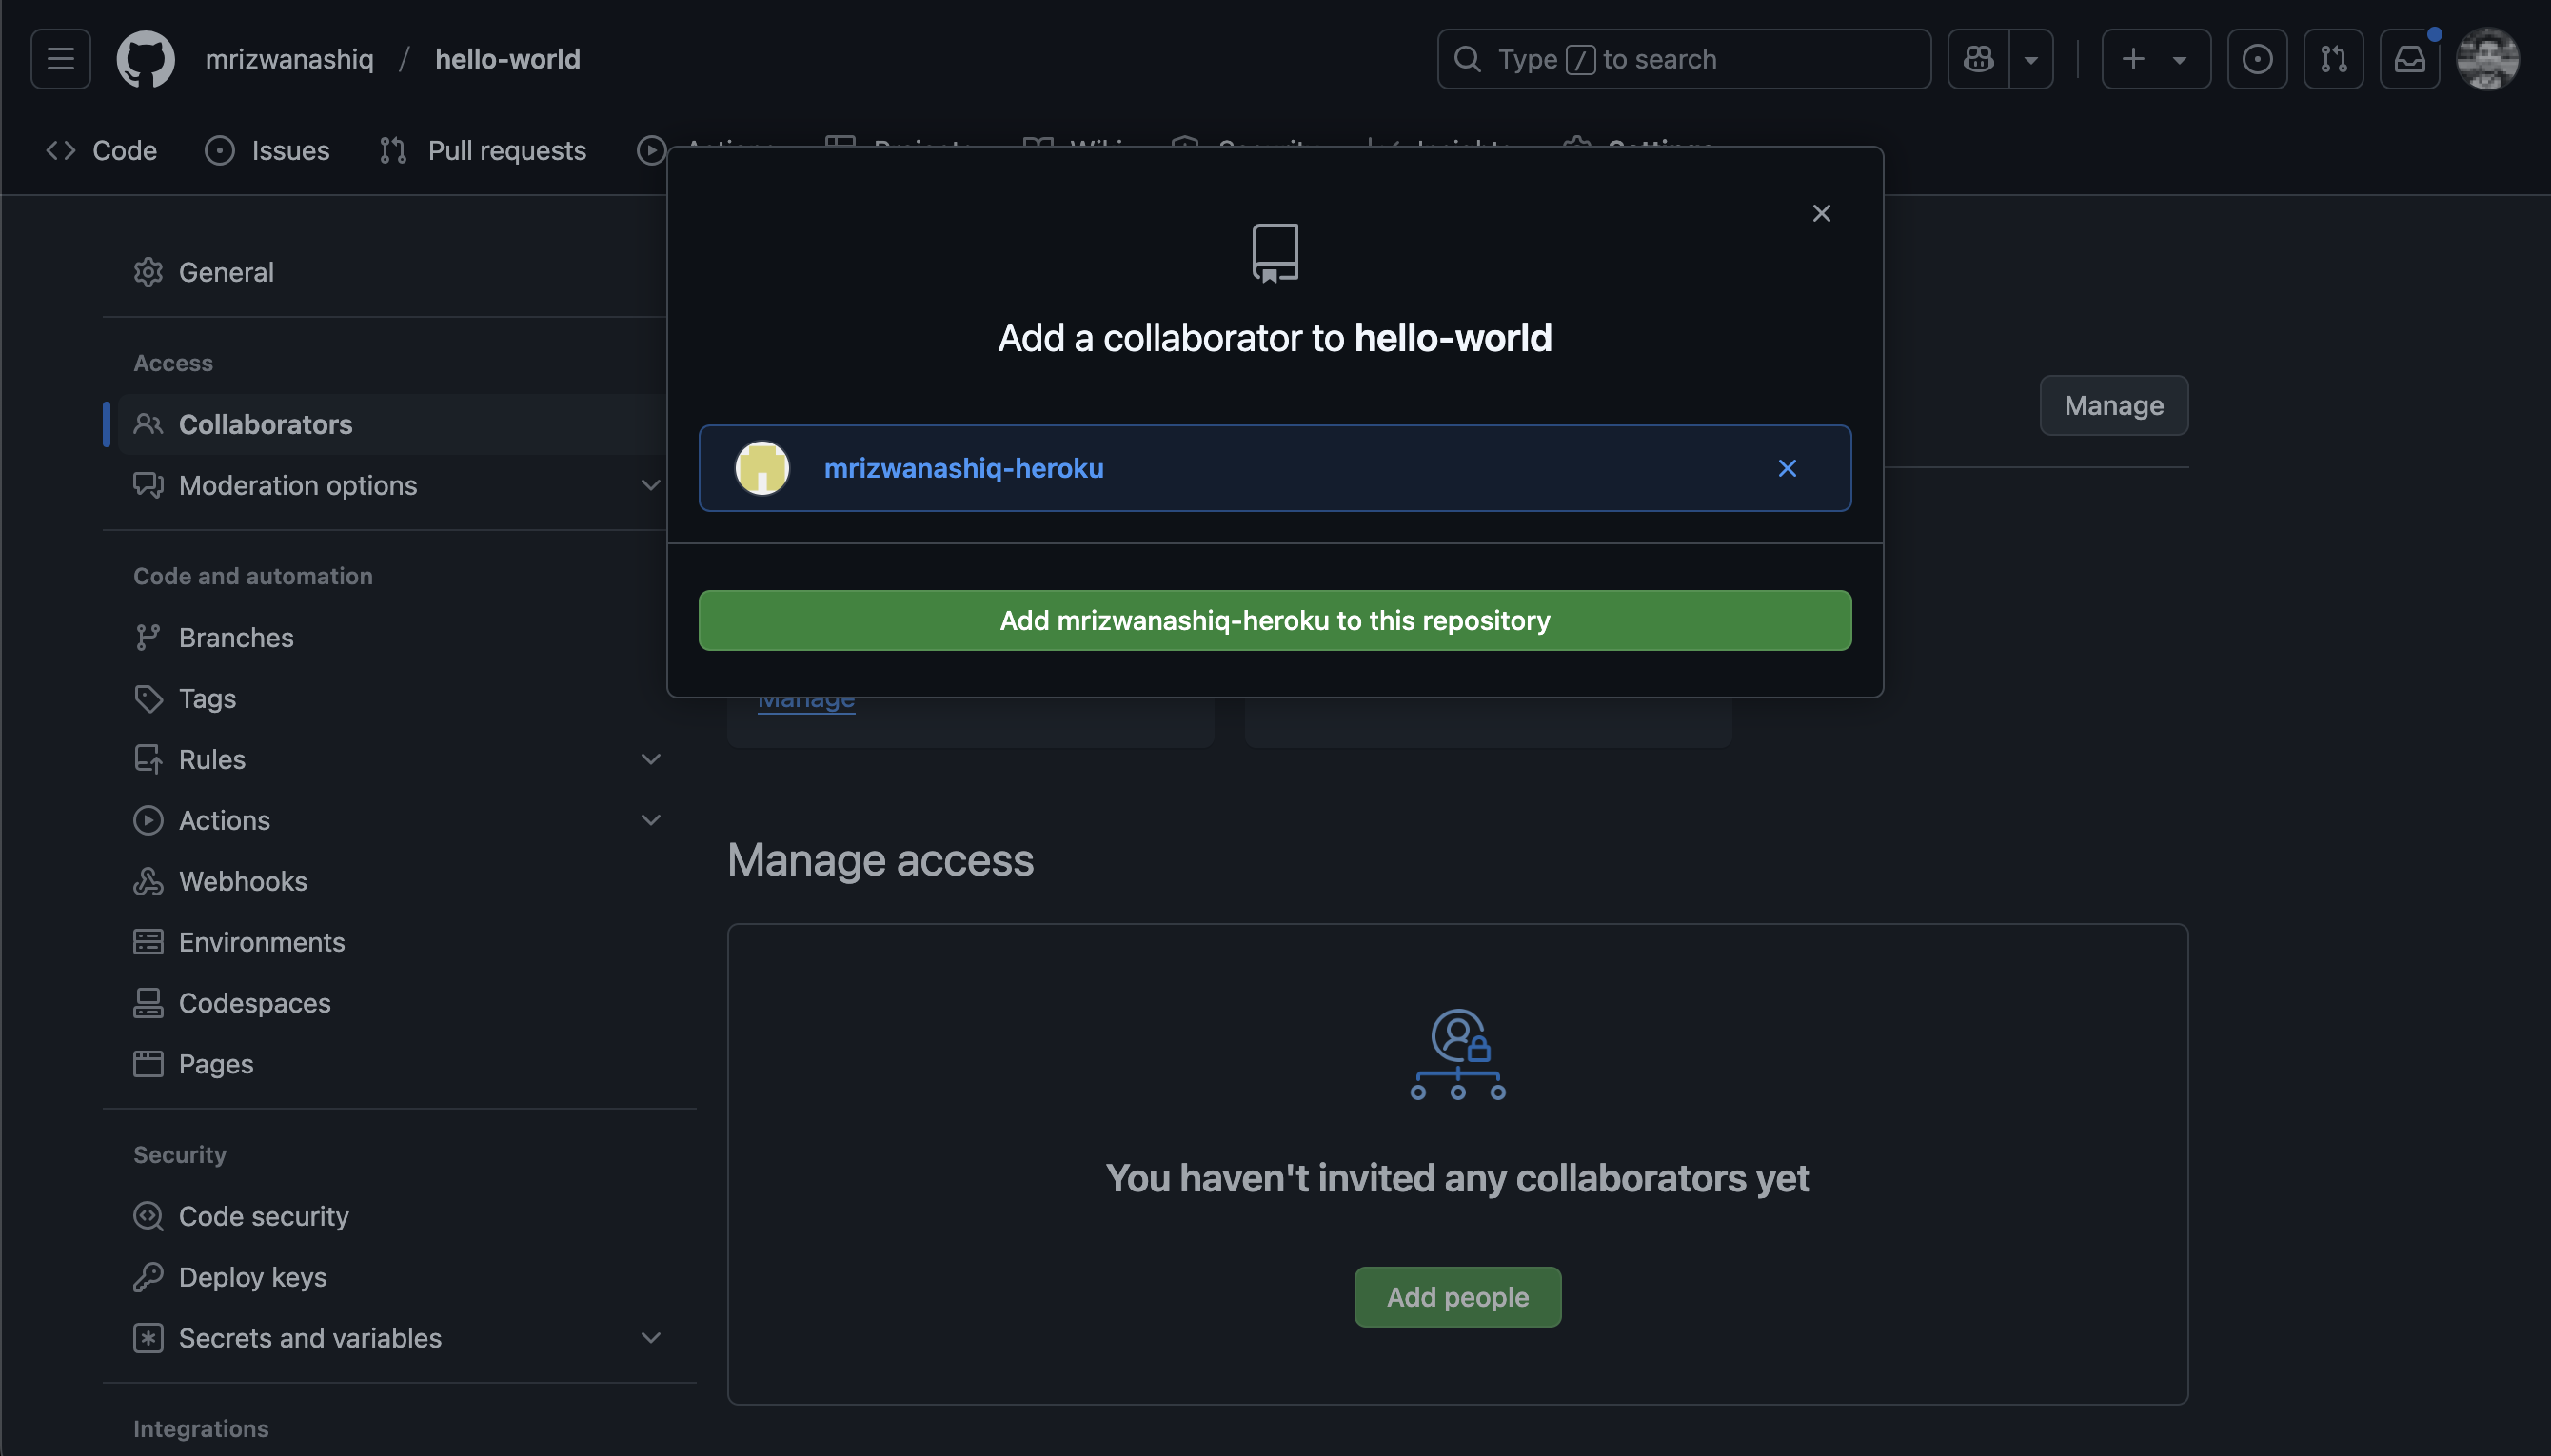
Step 4: Add a Collaborator
- Under the "Collaborators" section, click on the Add people button.
- Enter the username, email address, or full name of the person you want to add.
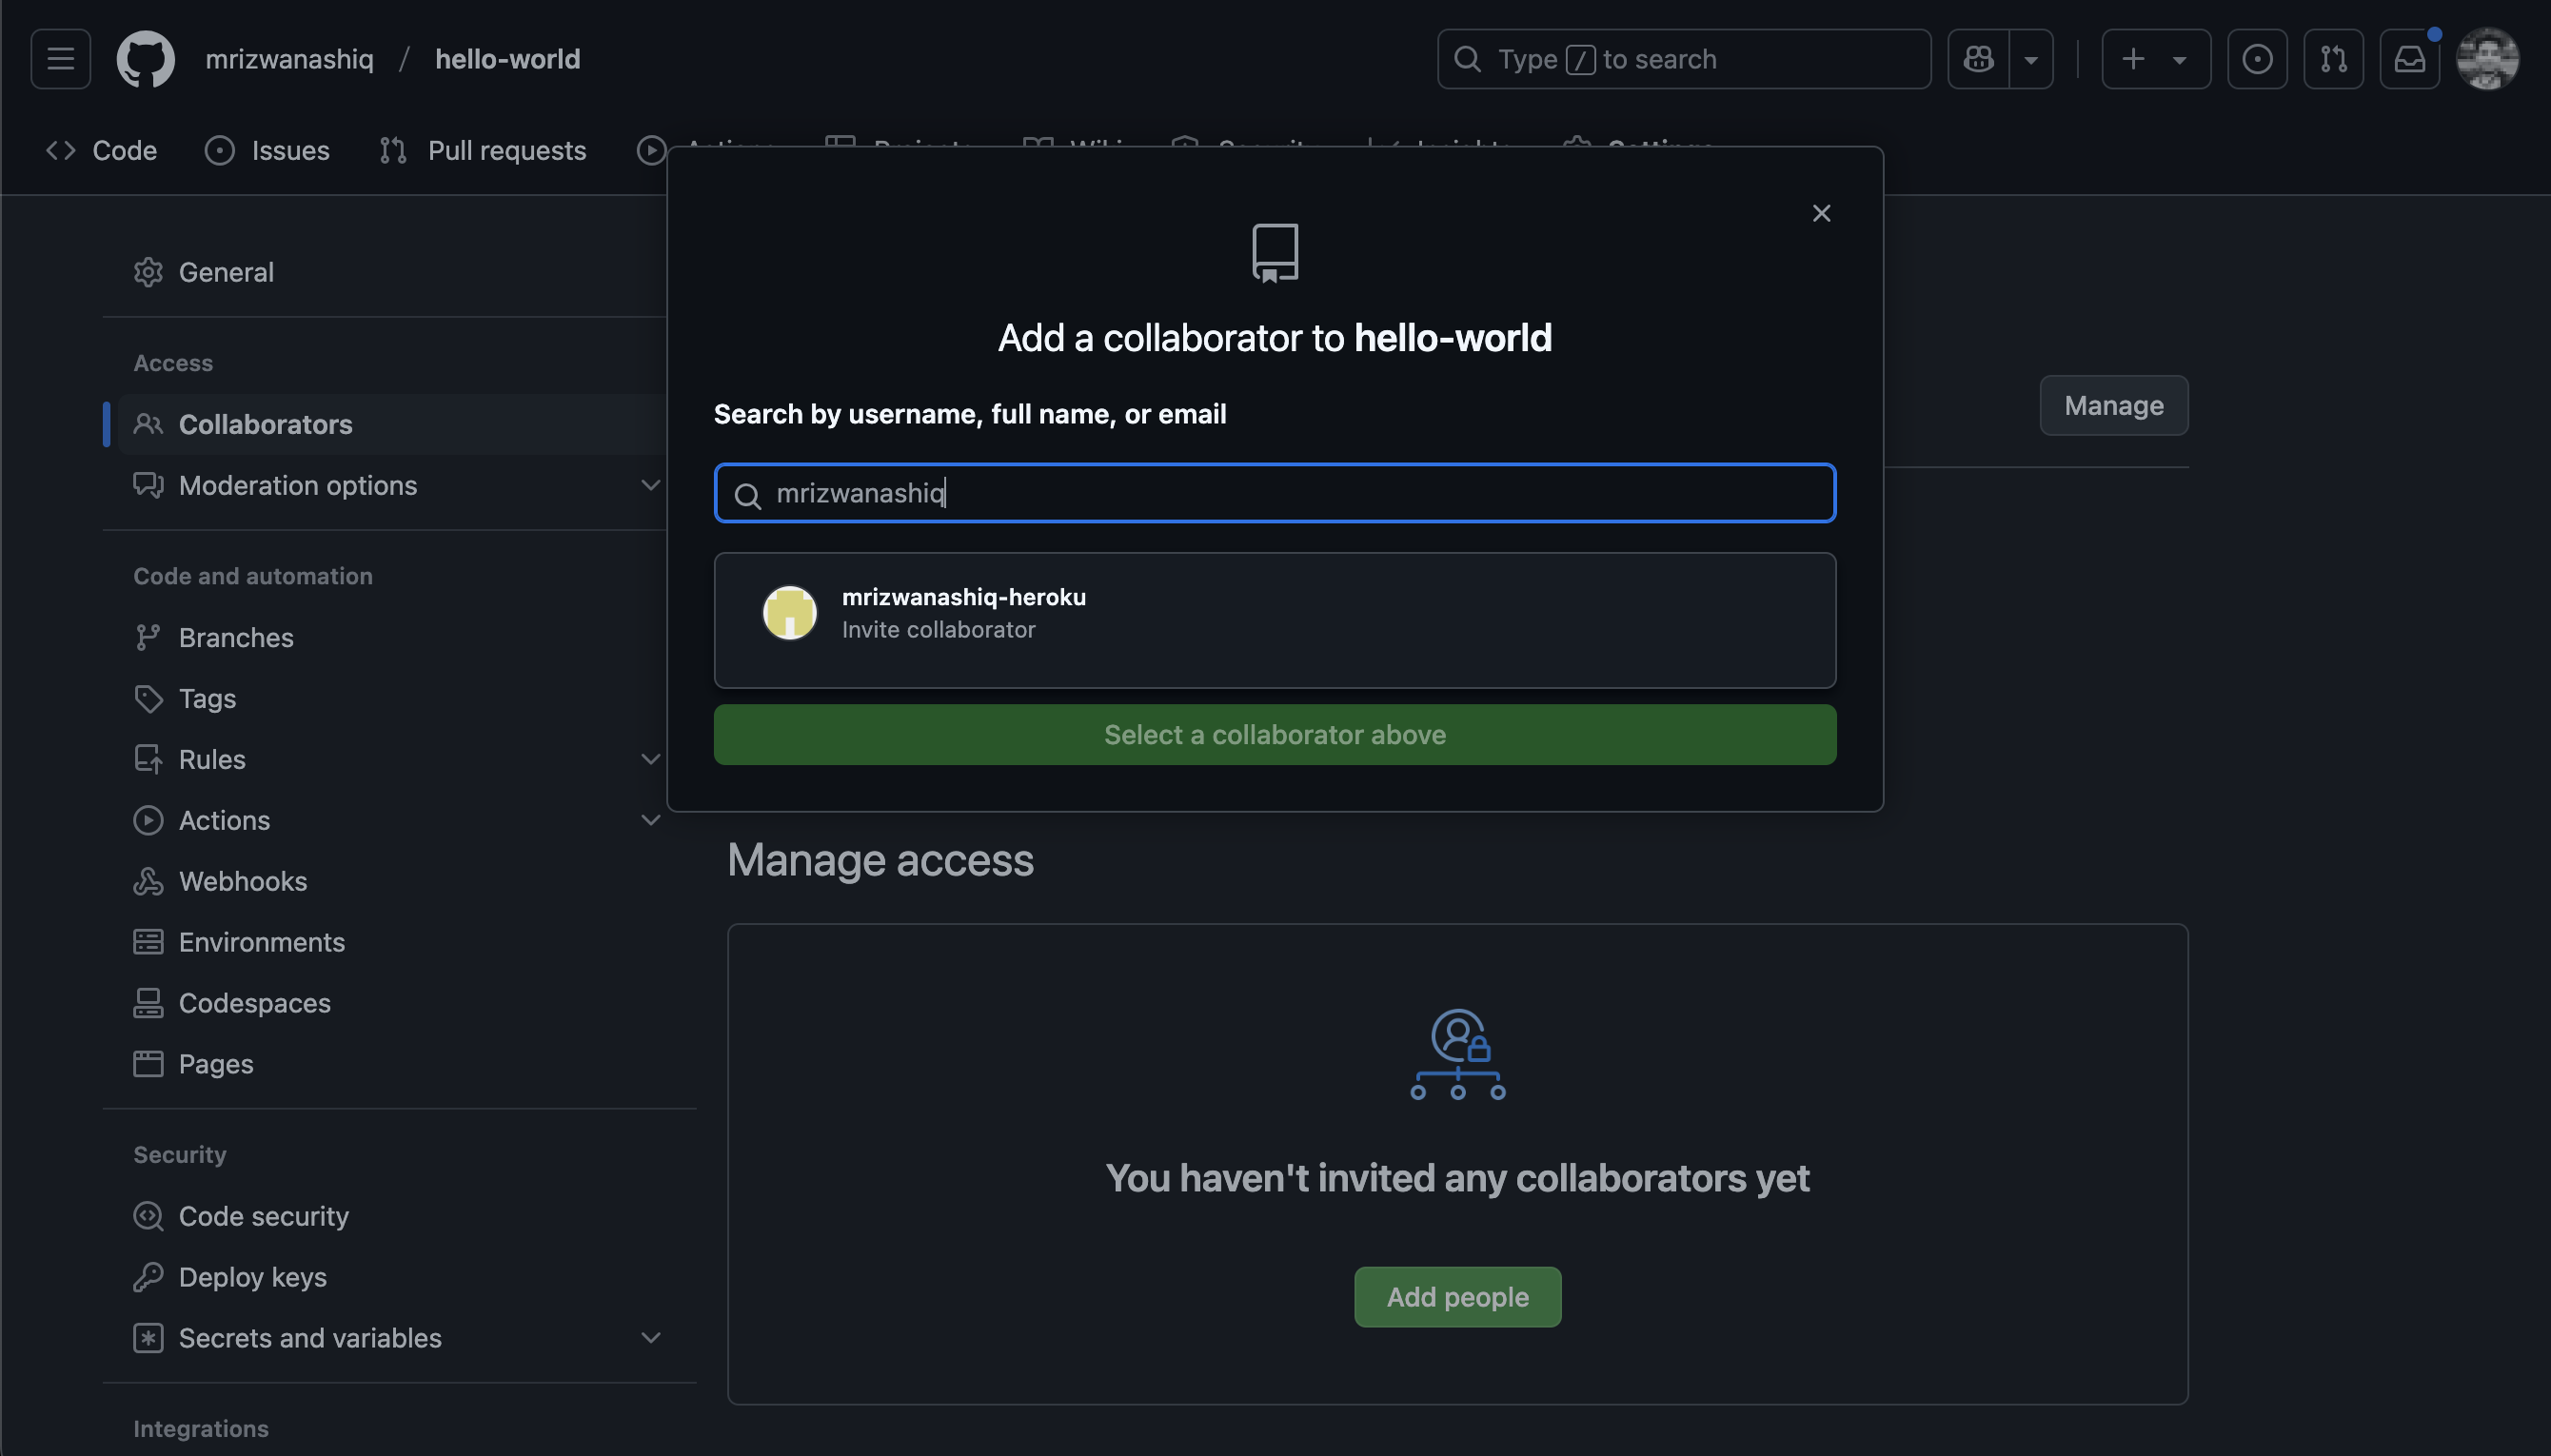
Step 5: Send an Invitation
- Once you find the person, click the Add button next to their name.
- The collaborator will receive an email invitation to join the repository. They must accept this invitation to gain access.
Step 6: Confirm the Collaboration
- After the collaborator accepts the invitation, their status will change to Collaborator in the "Collaborators" section.

Important Notes
- Private Repositories: Adding a collaborator to a private repository will give them access to view and modify the code.
- Permissions: By default, collaborators have write access. You can customize their permissions in the "Manage Access" section.
- Security: Only add trusted collaborators to your repository.
By following these steps, you can easily add collaborators to your GitHub repository and start working together on your project. Happy coding!