IPTV Backend
You are tasked with building a backend for an IPTV Service. First check this ER Diagram:
Requirements
We can see that there are 7 tables in the database.
- Users
- Genres
- GenresSeries
- Series
- Seasons
- Episodes
- Streams
- Files
Genre and Series have a many-to-many relationship. A series can have multiple genres, and a genre can have multiple series. So, either you can create a new table for the relationship which you can see in the diagram, or you can assign an array of genre ids to the series. It is up to you.
Both are valid solutions, but the first one is more efficient, and the second one is easier to implement. You can choose either of them.
Technologies
You will be using the following technologies:
- Node.js - For running the server
- Express.js - creating the server and API
- MongoDB - storing the data
- Mongoose - connecting to the database, creating models, and querying the database
- Joi - validation of the request's body, params, query, etc.
- Multer - uploading files
- JWT - authentication
- Postman - testing the API
- Git - version control
- GitHub - hosting the repository
- etc.
Instructions
Here are the instructions to complete the project:
Repository
- Download this repository
- Create your repo on GitHub, and name it
iptv-backend - Create a new branch called
develop - Understand the boilerplate, you have to follow the same structure i.e. function, variable, file, folder, etc. names
General
Keep in mind the following points:
-
Use
async/awaitorPromisefor handling asynchronous code i.e. database queries -
Use
try/catchfor error handling, every possible error should be handled -
Use
joifor validation of the request's body, params, query, etc. -
Use
jsonwebtokenfor authentication, create a middleware for authentication -
Use
dotenvfor environment variables, create a.envfile, and add all the environment variables in it. -
Use
corsfor cross-origin resource sharing, allow all the origins. You can use thecorspackage for this -
Use
nodemonfor development, create ascriptinpackage.jsonfornodemoni.e."dev": "nodemon index.js" -
Don't save the password without hashing it, use
bcryptorpassword-hashfor hashing the passwordPassword HashingIf you don't know how to do password hashing, check out this
Request Response Format
The response should be in JSON format. The response should be like this:
POST:
{
  "status": 201,
  "response": "Created",
  "message": "User created successfully",
  "data": {
    "id": "60f1c7b0e9b5a8a2b4b0b5a1",
    "first_name": "Muhammad Rizwan",
    "last_name": "Ashiq",
    "email": "mrizwanashiq@outlook.com",
    "password": "12345678"
  }
}
GET
{
  "status": 200,
  "response": "OK",
  "message": "Genres fetched successfully",
  "data": [
    {
      "id": "60f1c7b0e9b5a8a2b4b0b5a1",
      "name": "Action"
    },
    {
      "id": "60f1c7b0e9b5a8a2b4b0b5a2",
      "name": "Comedy"
    }
  ]
}
PATCH
{
  "status": 200,
  "response": "OK",
  "message": "Series updated successfully",
  "data": {
    "id": "60f1c7b0e9b5a8a2b4b0b5a1",
    "genre_id": "60f1c7b0e9b5a8a2b4b0b5a1",
    "name": "The Flash",
    "description": "The Flash is an American superhero television series developed by Greg Berlanti, Andrew Kreisberg, and Geoff Johns, airing on The CW. It is based on the DC Comics character Barry Allen / Flash, a costumed crime-fighter with the power to move at superhuman speeds. It is a spin-off from Arrow, existing in the same fictional universe.",
    "trailer_id": "60f1c7b0e9b5a8a2b4b0b523",
    "rating": 8.7,
    "image_id": "60f1c7b0e9b5234a2b4b0b5a1"
  }
}
DELETE
{
  "status": 200,
  "response": "OK",
  "message": "Season deleted successfully"
}
Status Codes
Status codes should be in the following format:
- 200: OK (for GET requests)
- 201: Created (for POST requests)
- 400: Bad Request (for invalid inputs)
- 401: Unauthorized (for invalid credentials)
- 403: Forbidden (for unauthorized access)
- 404: Not Found (for invalid URLs)
- 500: Internal Server Error (for server errors)
- 503: Service Unavailable (for server maintenance)
Public and Private APIs
There are two types of APIs:
Public APIs
In public APIs, you don't need to send any token (JWT) in the header, you can directly call the Public APIs. Only POST /users/login and POST /users/registration APIs are public APIs, all other APIs are private APIs.
Private APIs
On the other hand, private APIs are the APIs that are only accessible to authenticated users. You have to send the JWT (JSON Web Token) in the header with the name Authorization and value Bearer <token> in the request header to call the private APIs. The token can be obtained from the POST /users/login API.
Private APIs should be accessed only by authenticated users, if the user is not authenticated then the API should return a 401 status code with the following response:
{
  "status": 401,
  "response": "Unauthorized",
  "message": "Access denied. No token provided."
}
Private APIs are also called Protected APIs.
Tasks
Create models for all the tables or collection
Models are the representation of the tables in the database. You have to create models for all the tables.
timestamps option for all the modelsWhile creating a model, need to true the timestamps option. This will automatically add the createdAt and updatedAt fields to the model.
import mongoose from "mongoose";

const genreSchema = new mongoose.Schema(
  {
    name: {
      type: String,
      required: true,
    },
  },
  { timestamps: true },
);

export default mongoose.model("Genre", genreSchema);
All the models should be in the models folder, already created in the boilerplate. Need to create a file for each model in the models folder. For example, genre.js for the Genre model, series.js for the Series model, etc. You need to create the following models:
- Genre
- GenreSeries
- Series
- Season
- Episode
- User
- Stream
- File
The index.js file should be in the models folder, which should export all the models. For example:
export * from "./genre.js";
export * from "./genreSeries.js";
export * from "./series.js";
export * from "./season.js";
export * from "./episode.js";
export * from "./user.js";
export * from "./stream.js";
export * from "./file.js";
Or
import Genre from "./genre.js";
import Series from "./series.js";
import Season from "./season.js";
import Episode from "./episode.js";
import User from "./user.js";
import Stream from "./stream.js";

export { Genre, Series, Season, Episode, User, Stream };
However, you can choose any of the above methods, both are correct, but the first one is more efficient.
Make these APIs
Users
POST /users/registration- Register a new userPOST /users/login- Login a userGET /users- Get all usersGET /users/:id- Get a user by idGET /users/:id/streams- Get all streams of a user by user idGET /users/:id/streams/episode- Get episodes of all streams of a user by user idPATCH /users/:id- Update a user by idDELETE /users/:id- Delete a user by id
You would see in the GET APIs, that you've to get all from multiple tables, you can either use populate or aggregate method of Mongoose to get the data from multiple tables.
I would recommend you to use aggregate method, as it has so many advantages over populate method.
Genres
POST /genres- Create a new genreGET /genres- Get all genresGET /genres/:id- Get a genre by idGET /genres/:id/series- Get all series of a genre by genre idGET /genres/:id/series/seasons- Get all seasons of all series of a genre by genre idPATCH /genres/:id- Update a genre by idDELETE /genres/:id- Delete a genre by id
Series
POST /series- Create a new seriesGET /series- Get all seriesGET /series/:id- Get a series by idGET /series/:id/seasons- Get all seasons of a series by series idGET /series/:id/seasons/episodes- Get all episodes of a series by series idPATCH /series/:id- Update a series by idDELETE /series/:id- Delete a series by id
Seasons
POST /seasons- Create a new seasonGET /seasons- Get all seasonsGET /seasons/:id- Get a season by idGET /seasons/:id/episodes- Get all episodes of a season by season idPATCH /seasons/:id- Update a season by idDELETE /seasons/:id- Delete a season by id
Episodes
POST /episodes- Create a new episodeGET /episodes- Get all episodesGET /episodes/:id- Get an episode by idGET /episodes/:id/streams- Get all streams of an episode by episode idPATCH /episodes/:id- Update an episode by idDELETE /episodes/:id- Delete an episode by id
Streams
POST /streams- Create a new streamGET /streams- Get all streamsGET /streams/:id- Get a stream by idGET /streams/:id/episode- Get the episode of a stream by stream idGET /streams/:id/user- Get the user of a stream by stream idGET /streams/:id/episode/season- Get the season of an episode of a stream by stream idGET /streams/:id/episode/season/series- Get the series of a season of an episode of a stream by stream idGET /streams/:id/episode/season/series/genre- Get the genre of a series of a season of an episode of a stream by stream idPATCH /streams/:id- Update a stream by idDELETE /streams/:id- Delete a stream by id
Get API with Query Parameters
GET /ROUTE should have handled query parameters for pagination, sorting, and filtering of the data. First of all, let's understand what are pagination, sorting, and filtering.
To understand pagination, sorting, and filtering, check out this article
This GET /series?page=1&limit=10&genre_id=1&sort=-name should return the first page of 10 series of genre id 1 sorted by name in descending order.
And this GET /seasons?page=2&limit=5&name=GOT&sort=+name should return the second page of 5 seasons of name GOT sorted by name in ascending order.
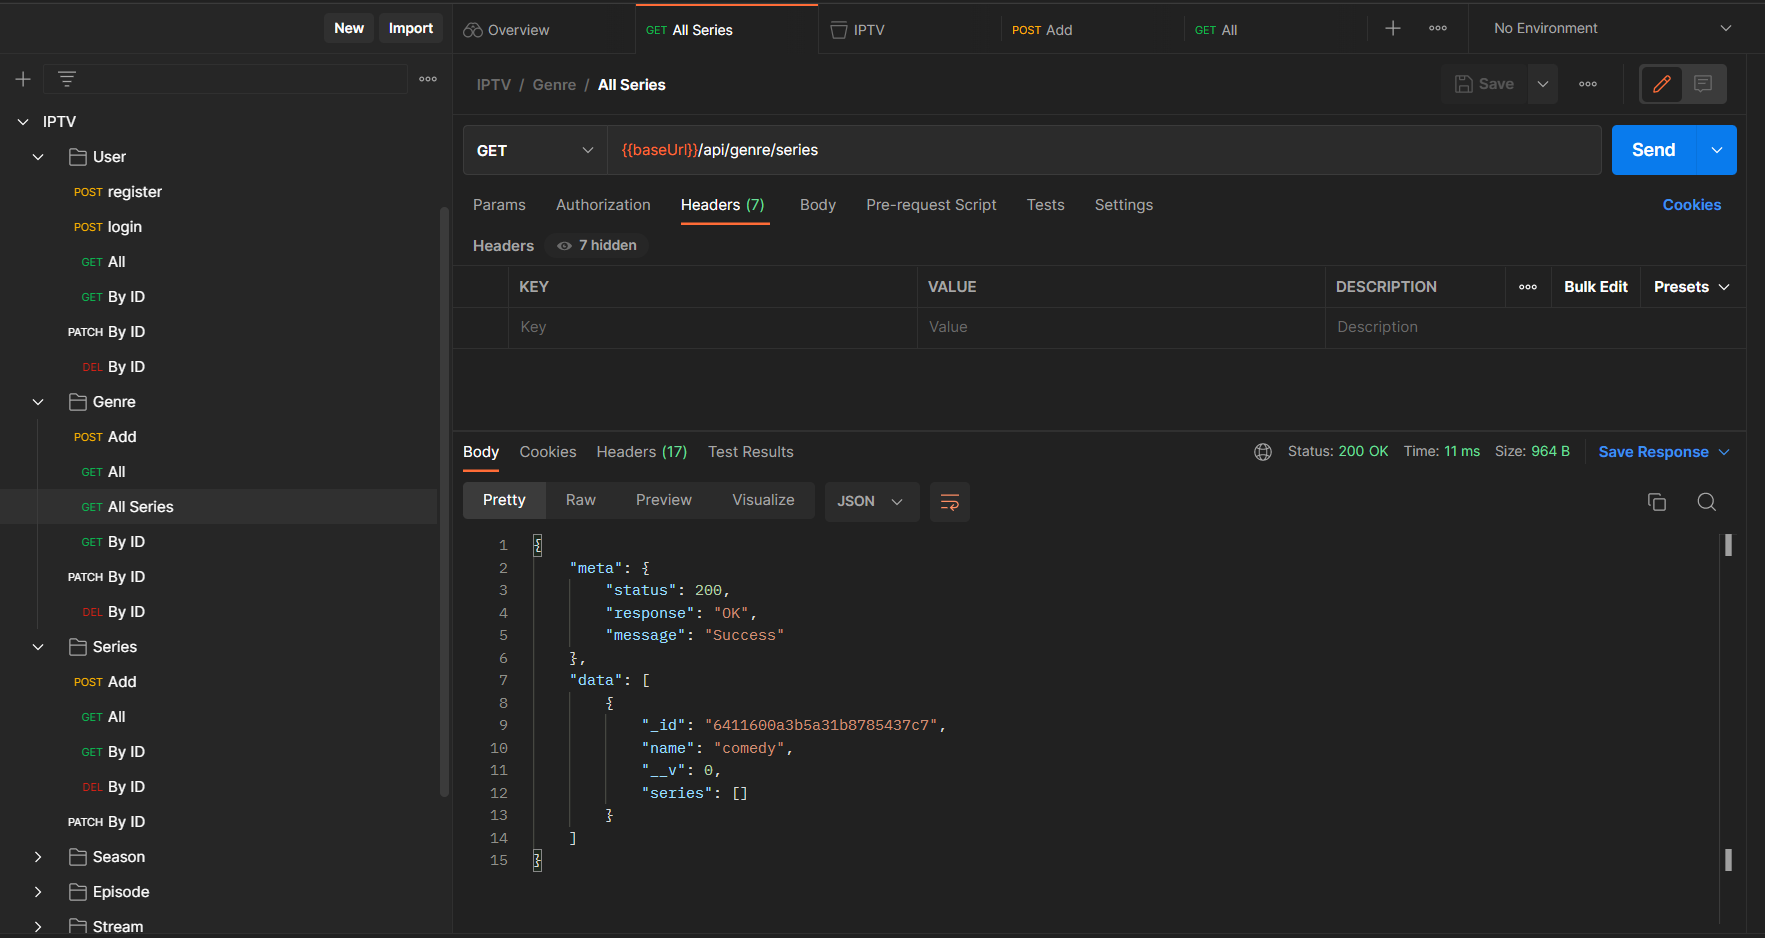
API Testing with Postman
All the APIs must be tested using Postman, you have to send the Authorization header with the value Bearer <token> in the request to access the private APIs
Create a new collection in Postman and name it IPTV, and create folders for each route. For example, create a folder for Users and create a request for each API in that folder like this:
Documentation
Create documentation for your application using Swagger, and Postman, and share the link with us via readme file in your repository, like this:
## Documentation

[Swagger](https://iptv-backend.herokuapp.com/api-docs)

[![Run in Postman]](https://app.getpostman.com/run-collection/XxxXxxXxxXxxXxxXxxX)
Deployment
Once you have completed your application, it's time to deploy it. Deployment is the process of deploying your application on any cloud platform. It allows you to access your application from anywhere in the world.
Deploy your application on any platform like Cyclic, DigitalOcean, Heroku, AWS, Azure, Google Cloud, etc.
On the local machine, you may be using a local database, but on the cloud, you have to use a cloud database like MongoDB Atlas. So, create an account on MongoDB Atlas, create a database for your application, and put the connection string in the environment variable MONGO_URI.
The connection string will look like this:
mongodb+srv://<username>:<password>@<cluster>.mongodb.net/<database>
Replace <username>, <password>, <cluster>, and <database> with your credentials.
Submission
- Push your code on the GitHub repository
- Create a pull request from your forked repository to the original repository
- Add your mentor as a reviewer on the pull request
- Your mentor will review your code and suggest changes if required by commenting on the pull request
- Once all the changes are done, and the code is ready to be merged, your mentor will merge your pull request
- You will get an email once your pull request is merged
- If you have any doubts, you can ask your mentor on the pull request or Slack
- Deploy the application on any cloud platform and share the link with us via a readme file in your repository
Evaluation Criteria
- The code is pushed to the repository
- Added mentor as a reviewer
- Raised a pull request, and requested a review from the mentor
- The project is deployed on any cloud platform
- The structure of the project is correct, the code is clean, and all the standard practices are followed
- All the said APIs are created, and working as expected
- The status codes and the response data are correct and consistent with all the APIs
- API data i.e. body, params, query is validated using Joi, and proper error messages are sent
- All the Private APIs are secured using JWT and the user can access them only by giving the valid token
- Documentation is created using Swagger and Postman and shared in the readme file as mentioned above
Resources
Conclusion
In this project, we learned how to create a backend project using Express and MongoDB. We learned how to create a REST API and how to use it in a frontend project. We learned how to use Postman to test our APIs. We learned how to use MongoDB Atlas to store our data in the cloud. We learned how to use Mongoose to create models and schemas for our data. We learned how to use Helmet to secure our Express app by setting various HTTP headers. We learned how to use Joi to validate the data sent by the user. We learned how to use Dotenv to store our environment variables. We learned how to use Nodemon to automatically restart the server when we make changes to our code. We learned how to use JWT to create and verify tokens. We learned how to use bcrypt to hash the passwords. We learned how to use async/await and try/catch to handle promises. We learned how to use proper error handling and status codes. We learned how to use Git and GitHub to manage our code. We learned how to deploy our project on Heroku.